

Laptops have been becoming powerful day by day and we are seeing laptops with performance matching that of a high end desktop. But since a lot of hardware is cramped into a small space it is difficult to upgrade parts on your laptop. Most laptops these days come with traditional HDD with 5400RPM(Revolutions Per Minute) which isn’t that powerful. It can handle day to day activities but over time the performance slows down severely and it makes your laptop sluggish. The boot takes a long time and applications open up slowly because of this. But with this simple trick you can give your laptop a huge boost. Let’s find out how
Adding a SSD in the place of Optical Drive:
The biggest upgrade that you can do for your laptop is replacing Hard Disk with Solid State Drives or adding a SSD in Optical Bay thus retaining HDD+SSD combo. Wondering how this can be done? Follow the steps below to successfully install a SSD in Optical Drive Bay.

Steps:
Step 1: Make sure your laptop has a optical drive. Some modern day laptops might not have it(eg:Macbook)
Step 2: Buy a HDD/SSD Caddy Link:
Link: Buy
Most of the laptops come with a standard 12.7mm optical drive so you can get the universal one. But make sure to check your manufacturer’s site to confirm the size before making the purchase.
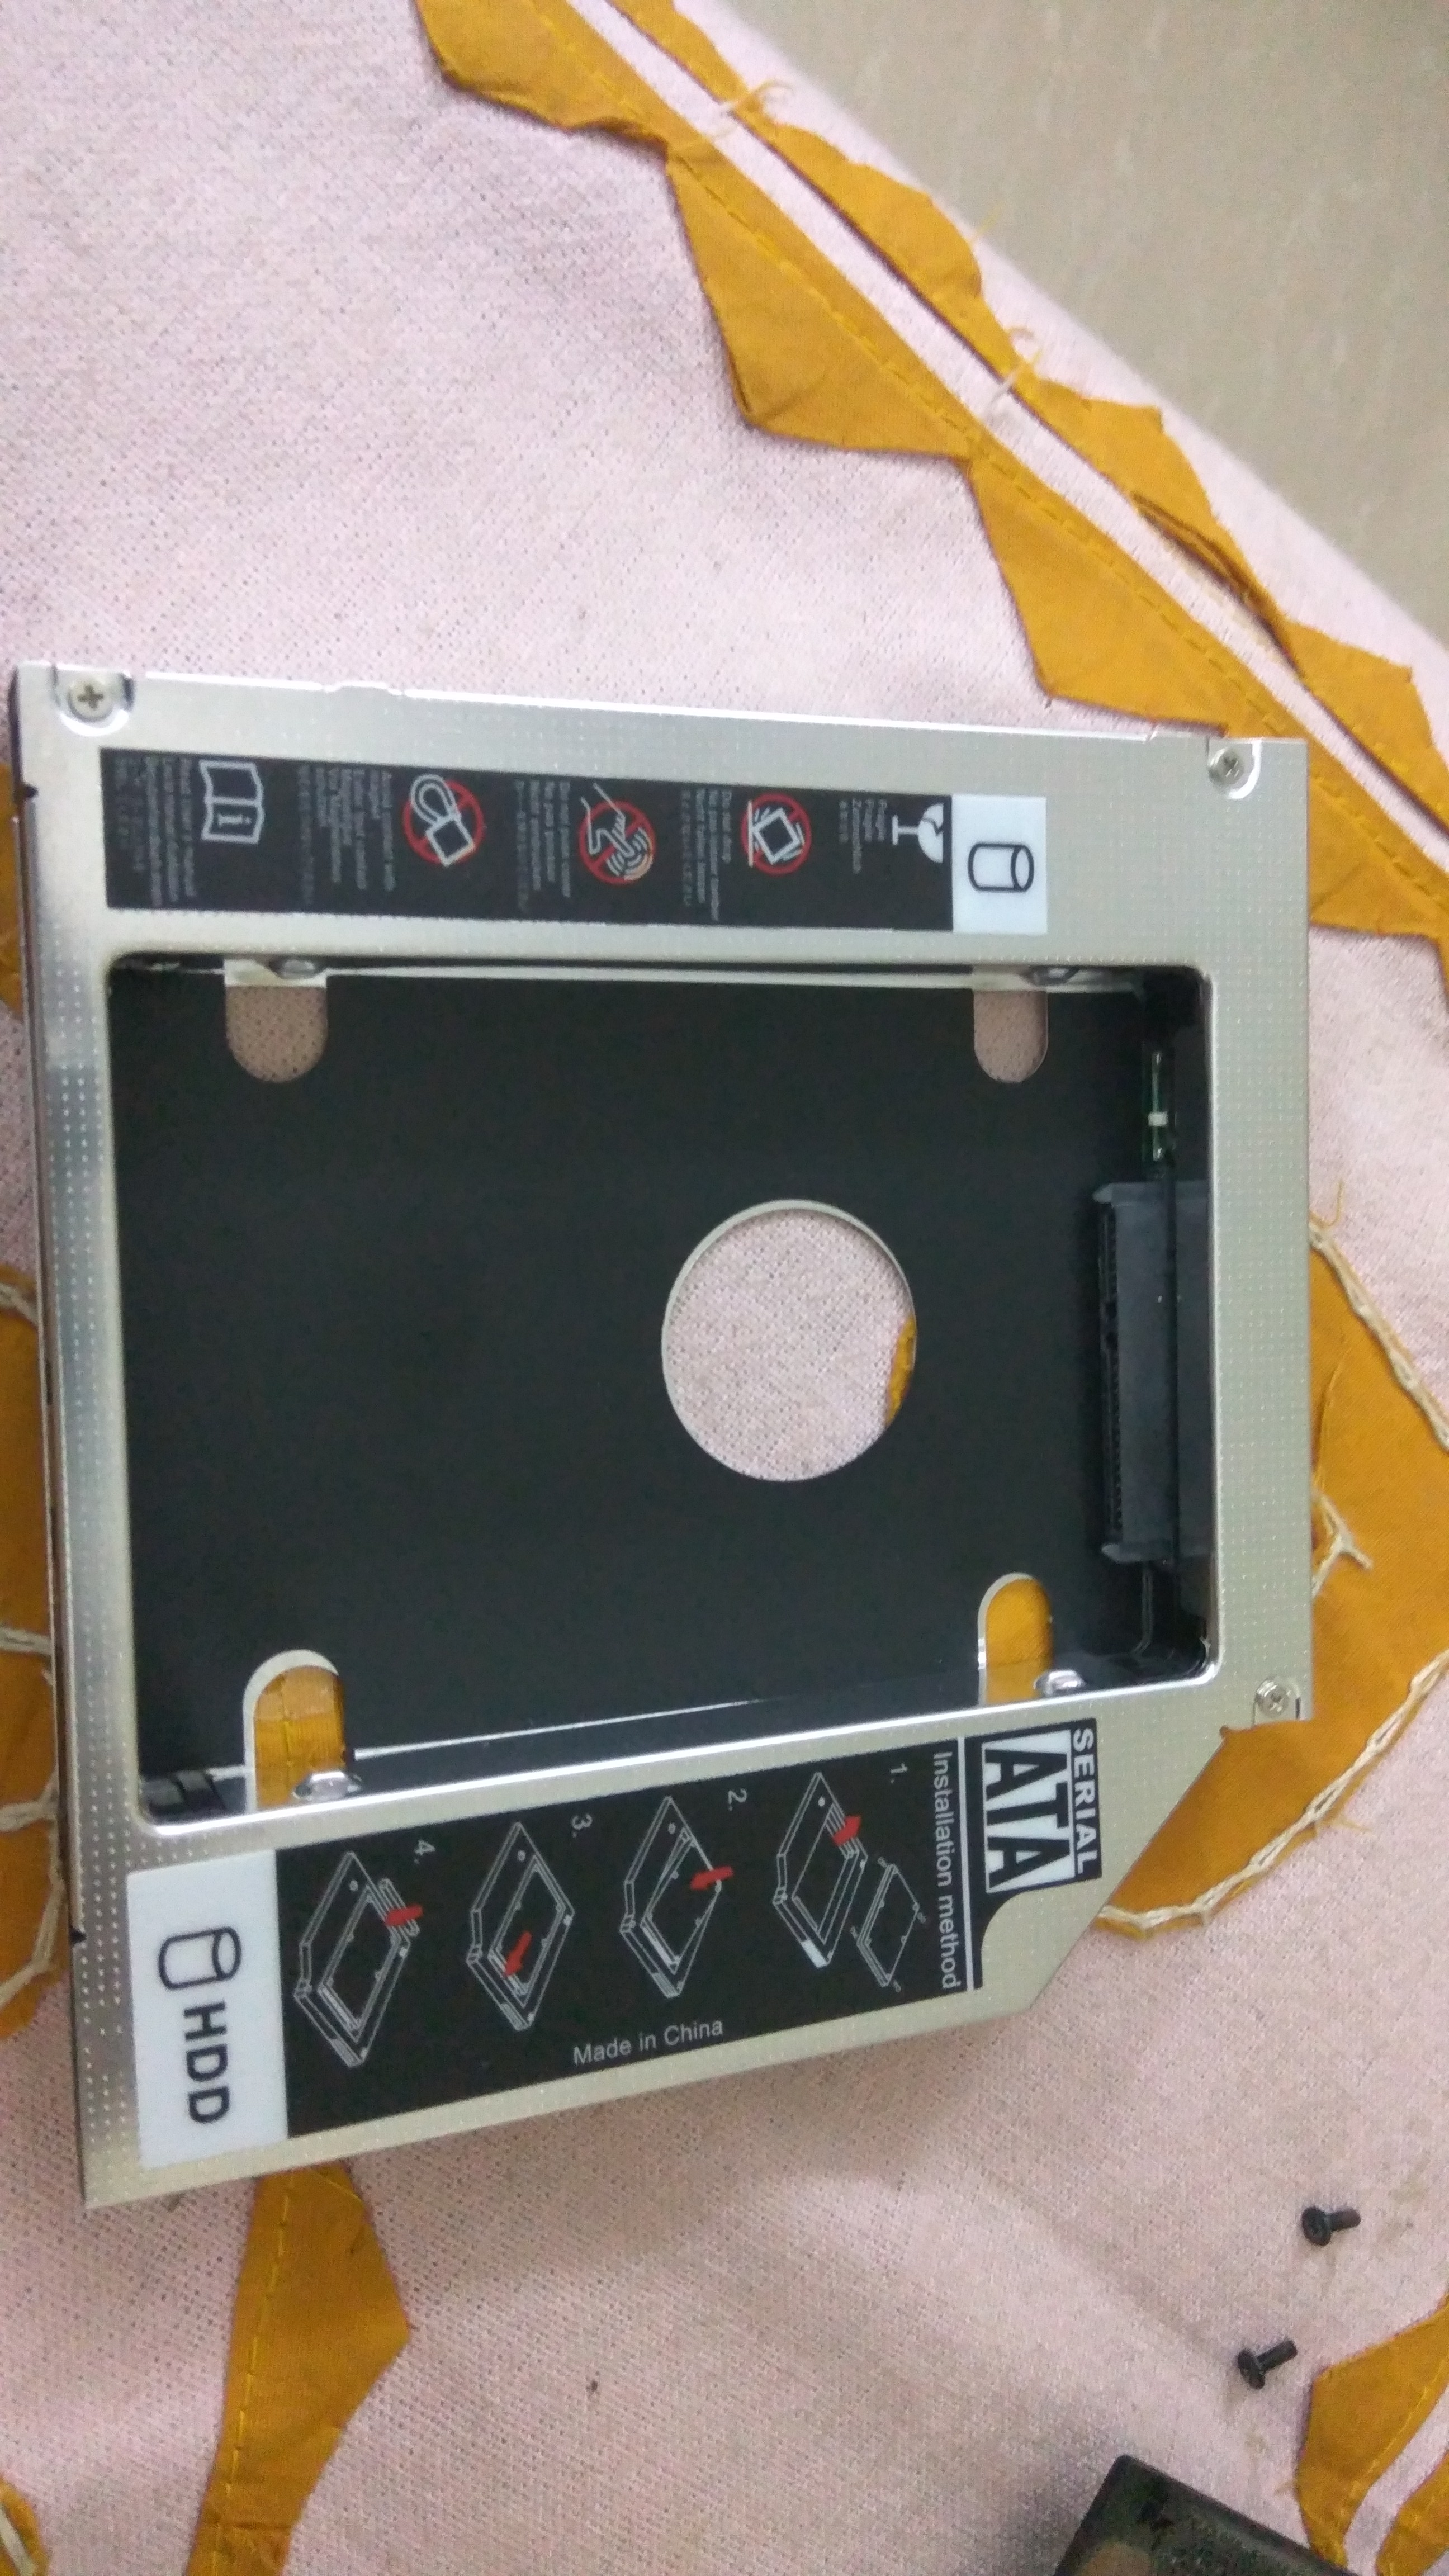
This is how a caddy and optical drive look.
They both are similar in size and it fits perfectly in the optical bay of the laptop.
Step 3: Remove the back plate of your laptop and pull the Optical drive out from its slot. 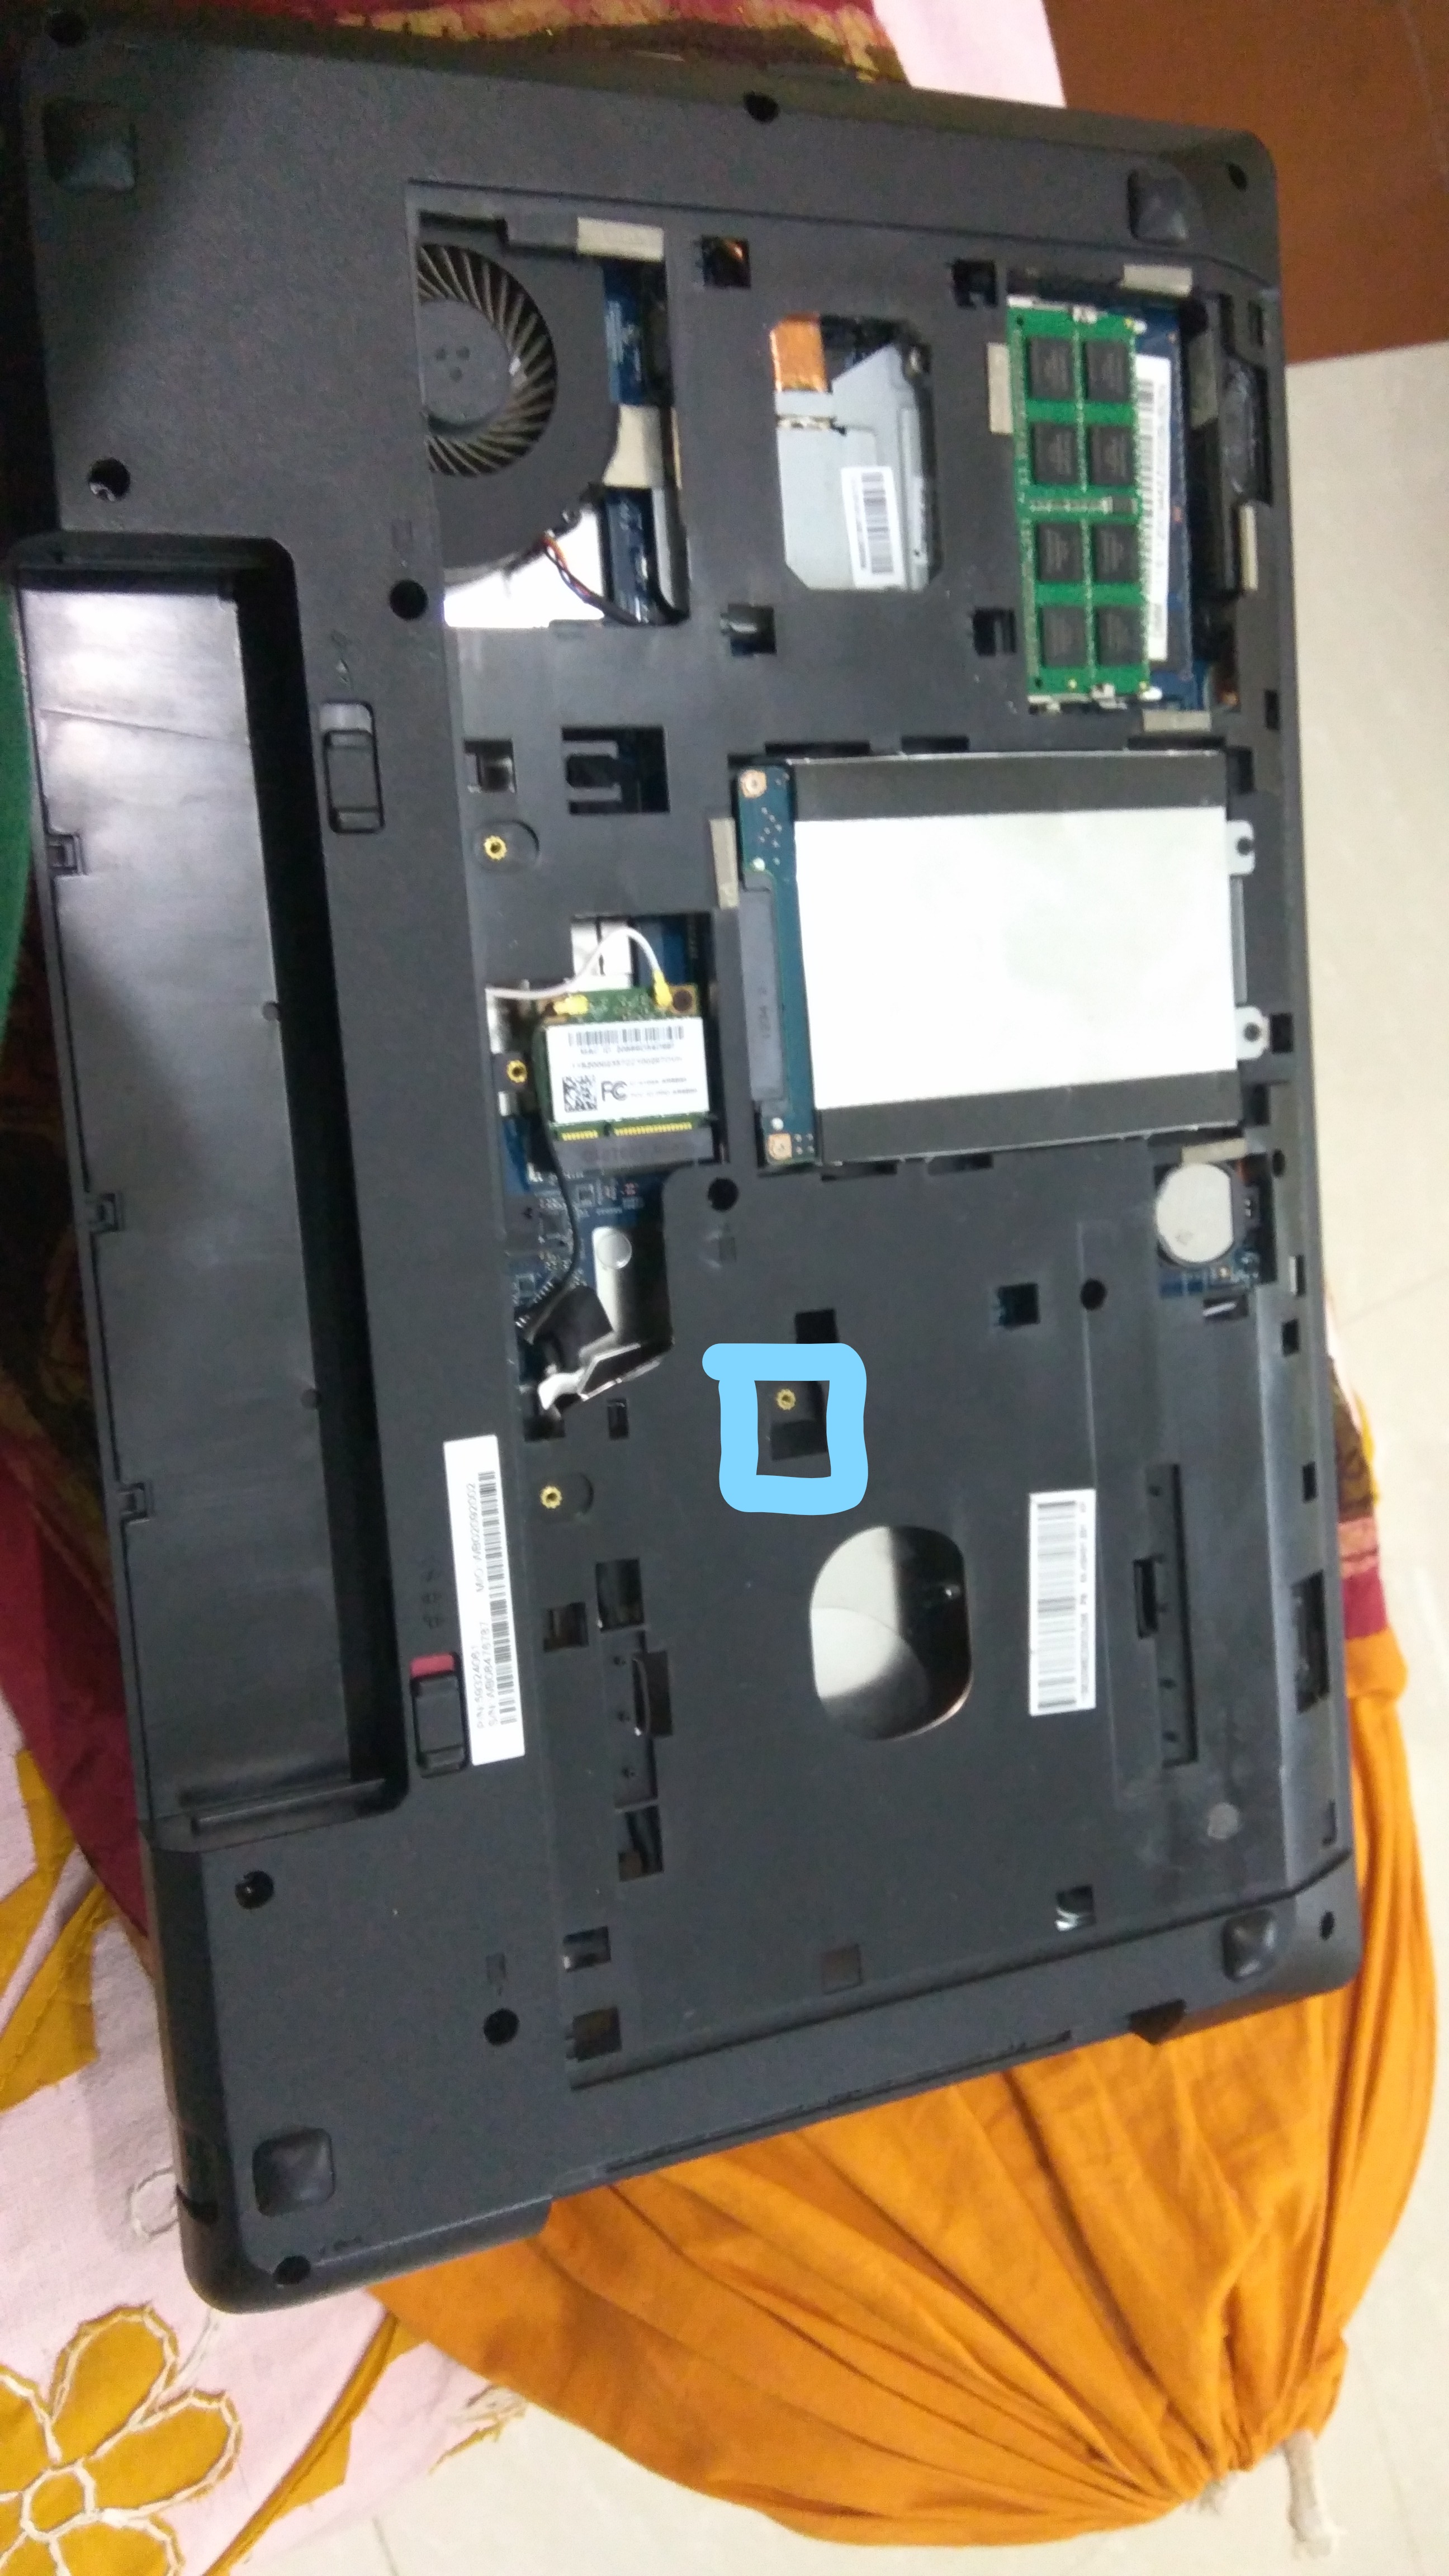
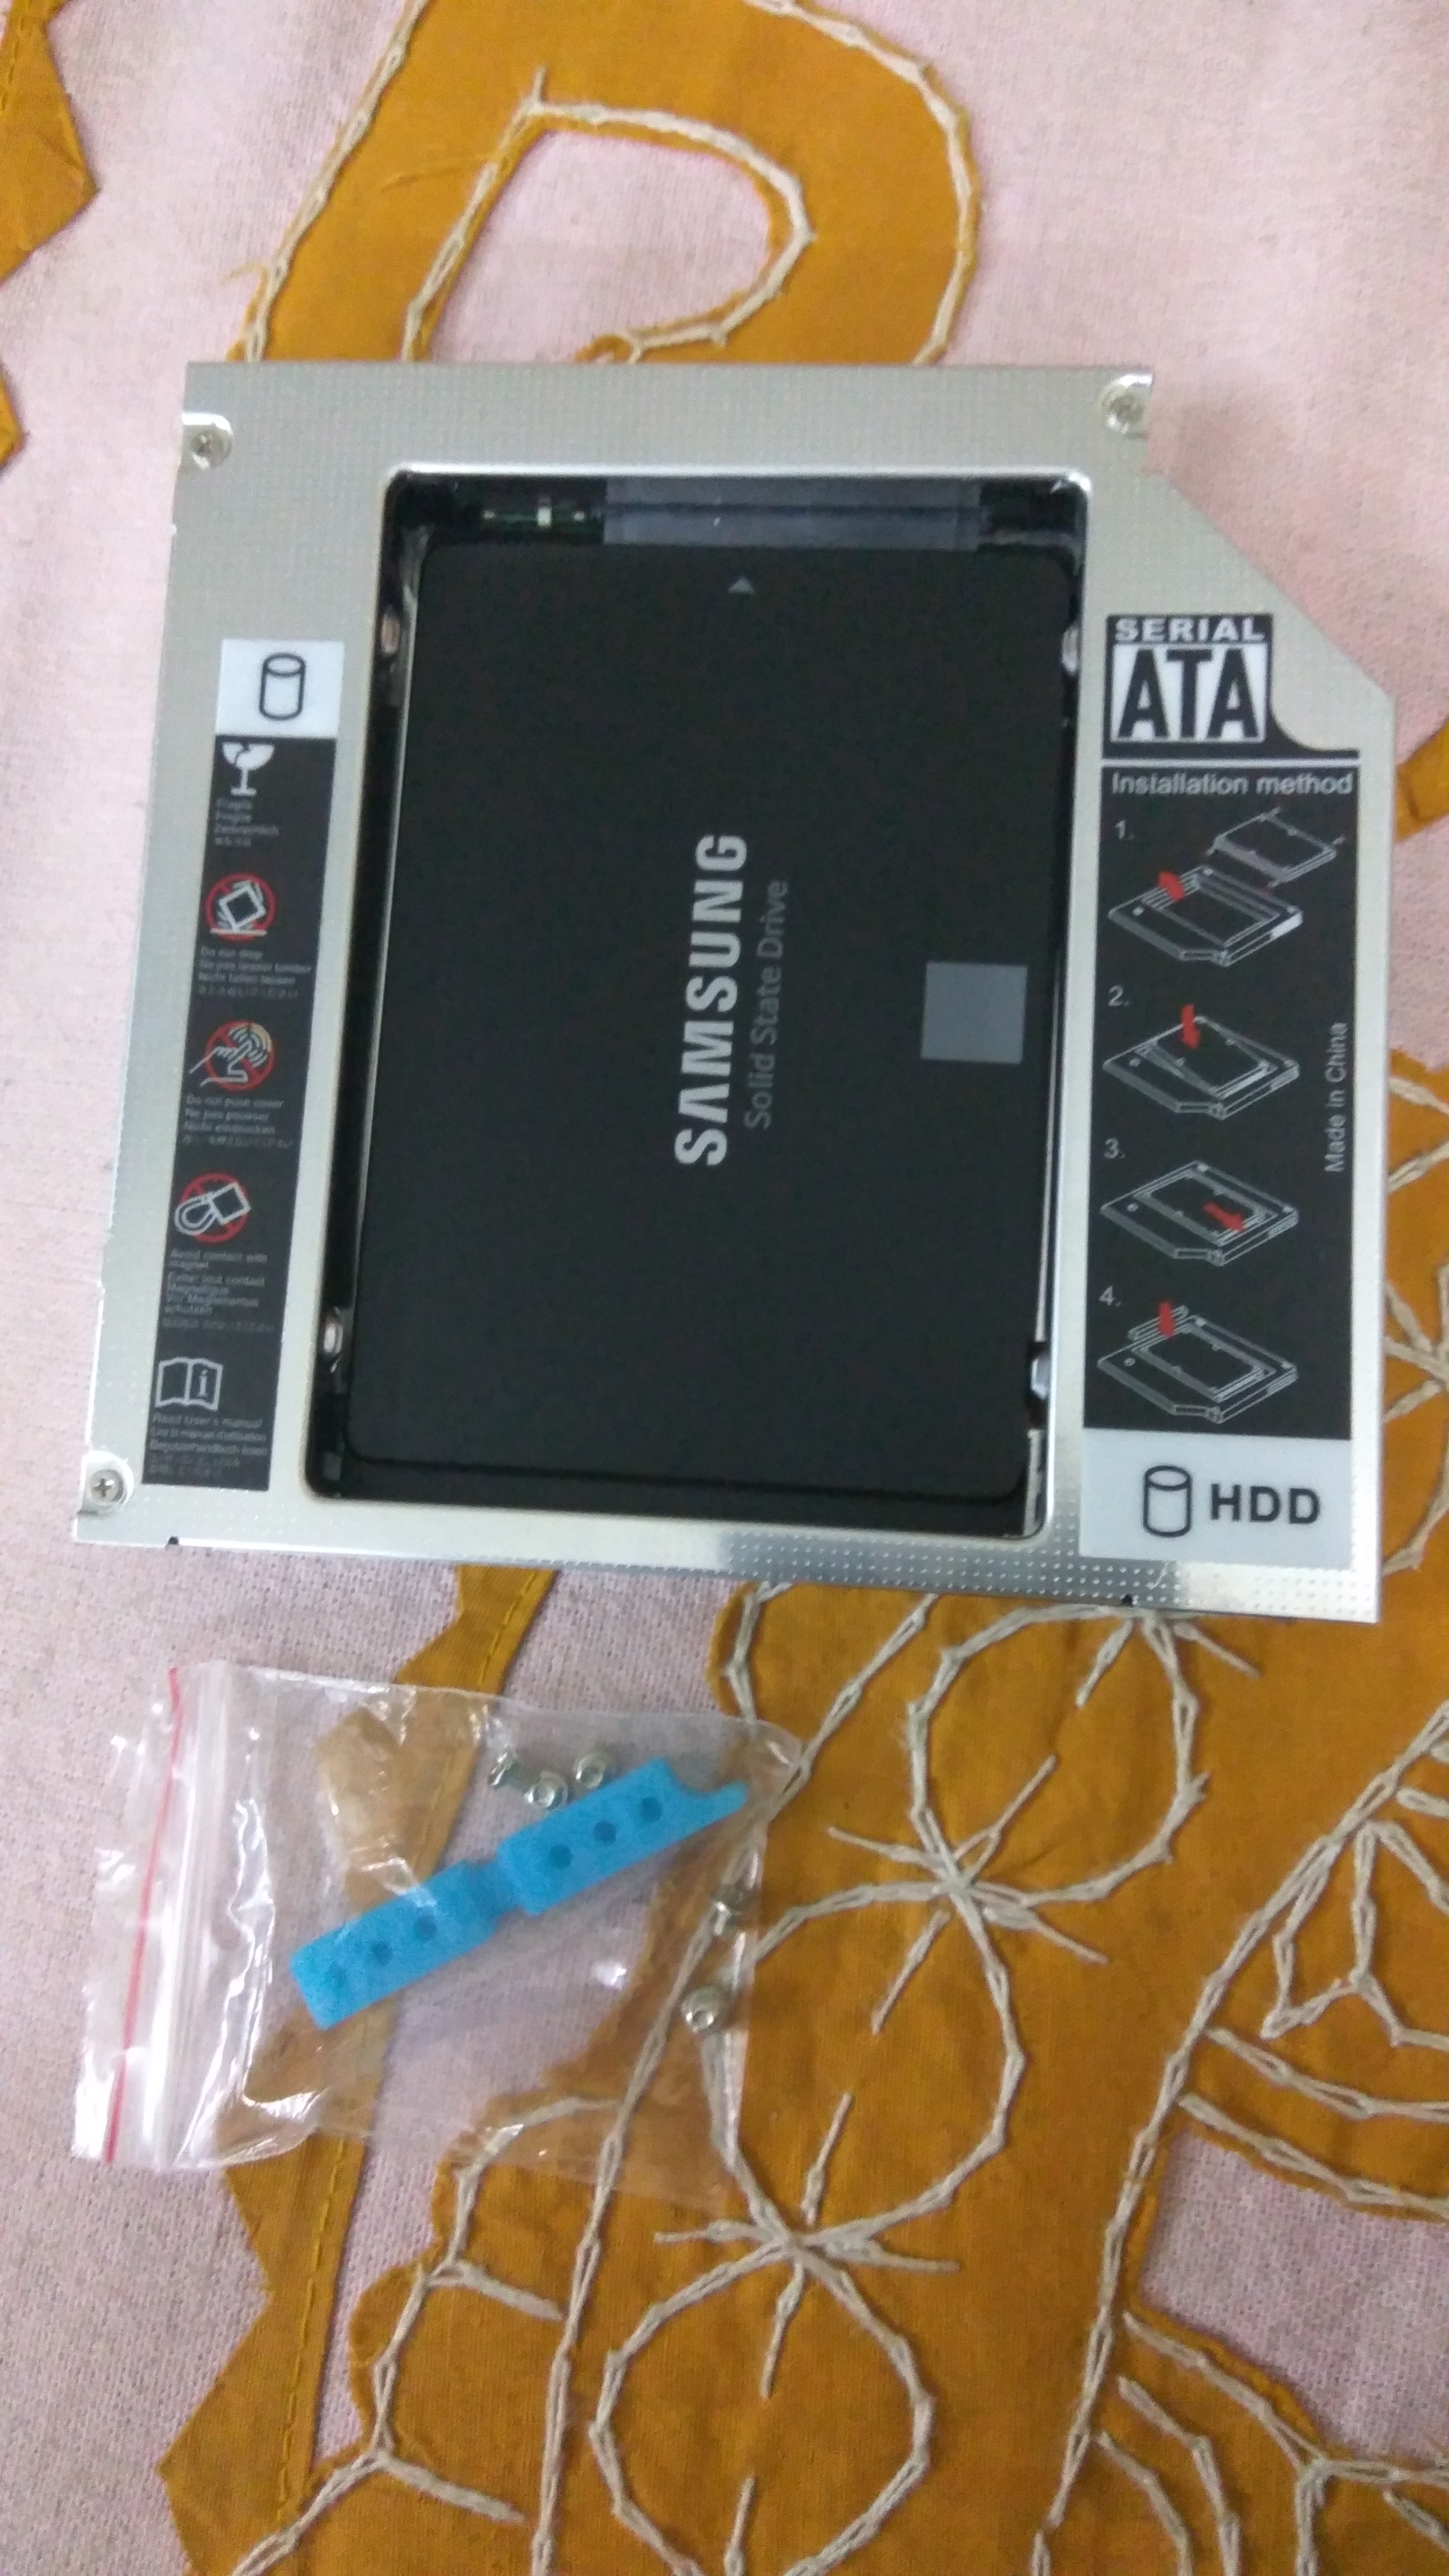
Step 4: Insert the SSD into the caddy and slide it so that it fits snug into place. A set of screws will be given along with the caddy. Fasten the screws and the process is almost done.
Step 5: Insert the Caddy into the Optical Bay and turn on the laptop. If you followed all the steps correctly then the SSD should detect in Bios. If not update your BIOS or go to BIOS settings- Legacy Boot-Enable it. If that too doesn’t work under the same tab Disable Intel Virtualisation Technology. It should work without any issues. As soon as the SSD is detected a red light glows and on successful install it changes into blue colour indicating you have installed it correctly.
Step 6: Finally go into Disk Management and initialize the drive. Right click on the empty drive and assign a new volume label and click OK. It will initialize your SSD and if you want to verify if all the drives are installed correctly go to Step 7.
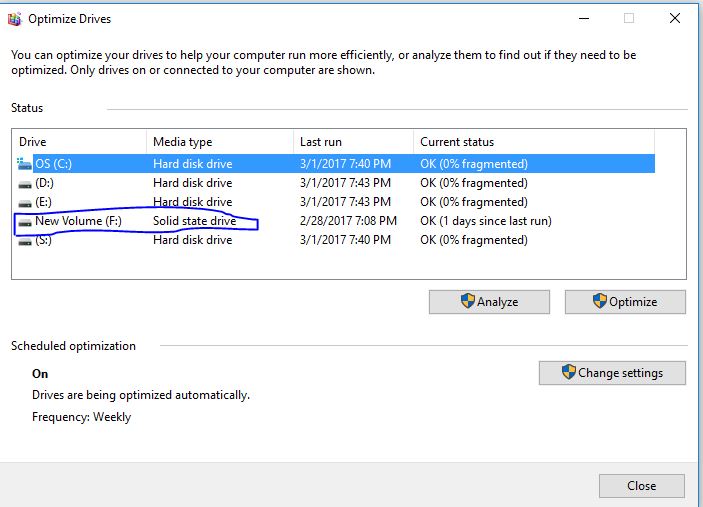
Step 7: Open ‘Defragment and Optimise drives’ application. It will list all your drives
That’s it. You are ready to rock with the new SSD. With SSD you can notice the significance boost in boot time and applications loading time. Here’s the difference between a HDD and a SSD
Why SSD is better than HDD?
SSD uses microchips and there are no moving parts in it. All the data are stored in microchips which are way faster than traditional hard drives. HDD uses a read/write head to move around and read the information. That is why SSD is better and supersedes HDD.
If you really want to give your old sluggish laptop a big boost, go ahead and install a SSD and see the magic.
Do like,share and comment on the post if you felt if this tutorial was helpful.


Nic da machii
Thank you ☺️
Nice work
Thank you
Good idea